Omnipod Classic
If you are using the Omnipod DASH system, please see this guide – Uploading your Omnipod DASH
This article assumes you have:
- An endo.digital account– If you don’t have an account, ask your healthcare provider to send you an invitation to endo.digital.
- Installed the latest version of the endo.digital Uploader – if you have not installed the endo.digital Uploader, you can download the latest version at https://dreamed-diabetes.com/uploader.
- An Original Omnipod PDM and a USB A-Male to Mini-B cable– Your PDM should have come with this cable, but if you need to purchase a replacement here is a link on Amazon to buy one – AmazonBasics USB A-Male to Mini-B
1. Connect your device
- Connect Your Omnipod PDM to Your Computer. Wait for the PDM to read “USB device ready” at the top of the screen before proceeding.
- Launch the endo.digital Uploader and log in to your account.
- Confirm ” Omnipod” is one of your Devices. You can change your devices by selecting “Choose Devices” from the menu under your name.

2. Upload your data
- Confirm that the endo.digital Uploader is set to the right time zone and that your PDM has the correct date and time set on the device
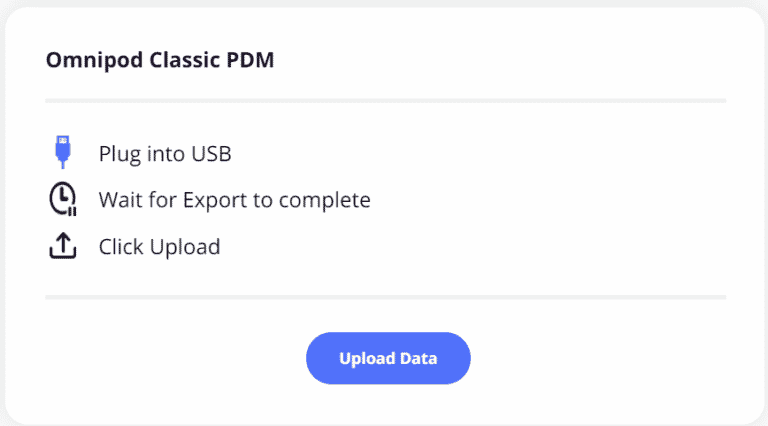
- Click the “Upload” button in endo.digital Uploader to begin the upload of the data from your PDM.
If you need further assistance, contact DreaMed support: support@dreamed.ai
www.dreamed-diabetes.com
MKT-12153, Last updated on: June 19, 2023